
U2C Exchange · Your first transfer
Your first USDT wallet: how to set it up without handing over access with your address
The wallet is installed. A friend showed you what to tap, an address appeared on screen, and you are ready to buy USDT. One easily overlooked question remains: who else could open this wallet and send money without you?
Before your first deposit, check who has access. Having an app on your phone does not necessarily mean you alone control the funds.
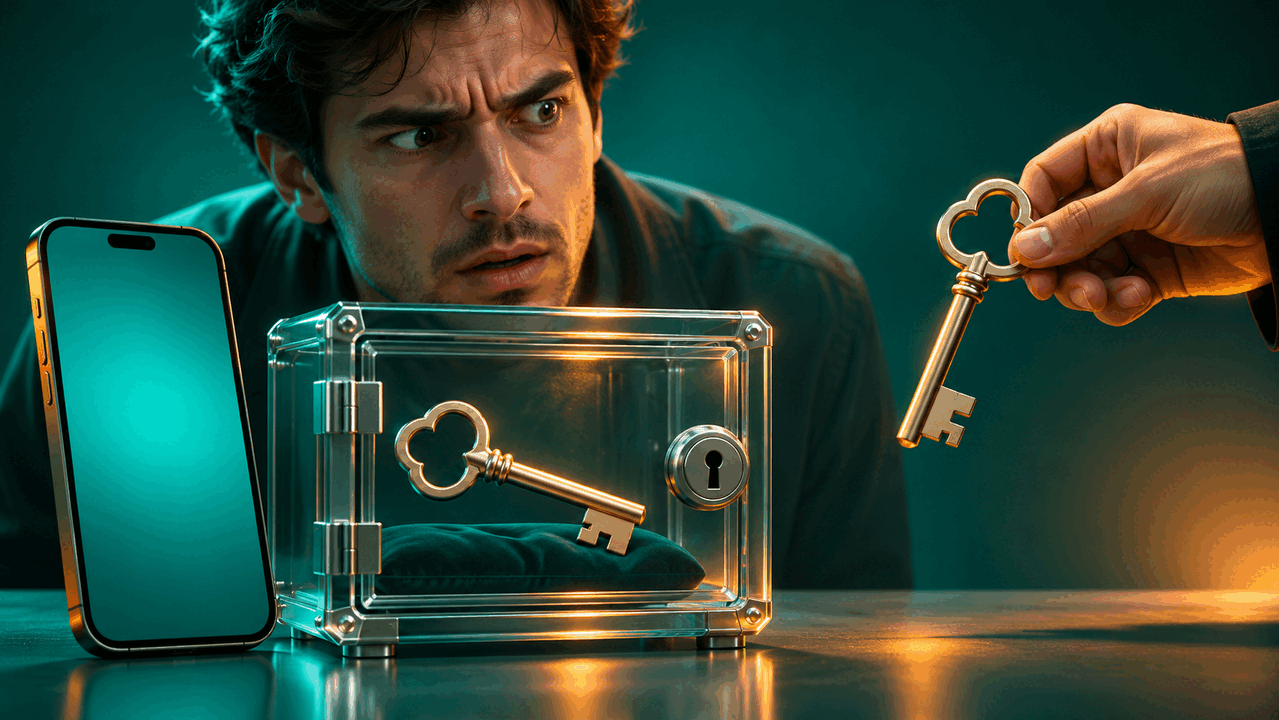
How a personal wallet differs from a service account
With a self-custody wallet, you are responsible for access to your funds. In a common setup, a recovery phrase lets you regain control on another device. Losing your phone does not necessarily mean losing your money; losing every recovery method might.
With a service account, the provider usually manages the keys. You log in under its rules, and withdrawals depend on account access, checks and supported networks. Secure email, a strong password, two-factor authentication and backup login methods matter here.
These are different responsibilities. “Save your seed phrase” is not an instruction that applies to every app: some wallets have other recovery models. Before depositing, find the official instructions for your chosen custody method.
If someone else set up the wallet
Help with installation is not itself a problem. The risk arises if the helper saw the recovery phrase, sent you a ready-made one or kept a copy. They may then have the same access as you. Changing the app password generally does not change an existing wallet’s keys.
If the wallet is still empty, do not make your first deposit into a setup you cannot trust. Create a new wallet yourself using the official app and ensure nobody has seen its secrets. If the old wallet already holds funds, do not transfer them blindly: first prepare a secure new address and confirm the network and costs.
Someone can explain the steps without watching you enter secrets. You do not need to send a photo of the recovery phrase, share your screen while it is displayed or give remote access to your device.
What to do before your first purchase
- Install the app from a verified source. Start with the developer’s official website and check the publisher in the app store. An advert or a file sent in a private message does not establish authenticity.
- Understand recovery. Back up your recovery information as the official instructions explain. For a conventional seed phrase, check the words and their order; keep a copy separate from your phone and away from other people.
- Complete the built-in backup check. If the app asks you to confirm the words you recorded, do so before transferring. Do not delete your only working installation just to experiment with recovery.
- Choose the receiving network. Confirm that the wallet supports the required version of USDT and which network the other party will use.
We cover purchase preparation separately: how to buy USDT with cash and check payment details. Set up your wallet in advance, without the pressure of an appointment, an exchange rate or the need to finish quickly.
One USDT, several networks: what to give the sender
The name USDT does not specify the network. Two apps may display the same asset while offering different receiving options. Share the full address and exact network name shown in the receive section.
If you use a service account, check its current requirements: the supported network, minimum deposit and any additional fields shown. Receiving at your own address and being credited within a service are not the same thing.
Check the entire address, not just a familiar beginning. For TRC20, see our separate guide to sending USDT without mistakes in the transfer details.
Which information can you share?
| Information | How to handle it |
|---|---|
| Receiving address and network | Share these with the sender for the agreed transfer. A public address can reveal transaction history, so avoid posting it everywhere. |
| TXID — transaction identifier | Use it to locate a particular transfer. It is neither a password nor permission to control the wallet. |
| Recovery phrase and private key | Never share them. Enter them only in a verified process for recovering your own wallet. |
| Login and confirmation codes | Do not dictate them to a “helper” or send them in a chat. They may authorize login or withdrawal. |
If someone asks you to open a website and sign an unclear permission to “check your address”, stop. Connecting a wallet and signing are separate actions with their own consequences. They are not substitutes for simply sharing an address to receive funds.
A small test helps, but does not solve everything
You can agree on a test transfer if its amount meets the recipient’s limits and the costs make sense. Check actual receipt on the correct network, not the sender’s screenshot.
A successful test does not prove that only you know the recovery phrase. Check the address again before the main transfer: it could have been replaced after the test. If the transaction is through U2C, first confirm whether the order allows this sequence.
How to start an exchange with U2C
Before handing over funds, use U2C’s official contact channels to tell us which asset and network you want to receive and whether you use a personal wallet or a service account. The operator will confirm the terms of your specific order.
Keep the agreed transfer details and, after execution, the transaction identifier. A properly prepared first wallet gives you more than a number on a screen: it gives you a clear way to receive funds, verify their arrival and preserve access.
Read also

USDT deducted but not received: where did the transfer stop?
USDT left your balance but never appeared for the recipient? U2C explains how to check the TXID, network, address and deposit status, and who to contact.
Read
Paid for an exchange with someone else’s card: checks and refunds
U2C Exchange explains why the actual payer must be verified and why an approved refund goes only to the original card or account.
Read
A fake courier reported cash received while the real courier was still in the office
A manager receives a message: “I collected the cash and am on my way to have it counted.” The account looks like our courier’s. The real courier, however, is still standing in the office. This attempted deception in Madrid shows why a familiar avatar does not confirm a handover.
Read
Comments and questions
Do not post request numbers, phone numbers, wallet addresses or other personal details. Contact a manager about a specific exchange.
No comments yet. You can ask the first question.